Step 4
Connect your SMA inverter to Niko Home Control (optional)
If you have an SMA inverter, you can connect this to your Niko Home Control installation. You can then also view how much solar energy you have generated in the Niko Home app, how much you are injecting into the grid and how much of it you are using yourself.
-
Niko Home Control is compatible with the following SMA inverters:
SMA Sunny Boy
- SB1.5-IVL-40
- SB2.0-IVL-40
- SB2.5-IVL-40
- SB6.0-IAV-41
- SB6.0-IAV-40
- SB5.0-IAV-41
- SB5.0-IAV-40
- SB4.0-IAV-41
- SB4.0-IAV-40
- SB3.6-IAV-41
- SB3.6-IAV-40
- SB3.0-IAV-41
- SB3.0-IAV-40
SMA Sunny Tripower
- STP10.0-3AV40
- STP8.0-3AV40
- STP6.0-3AV40
- STP5.0-3AV40
- STP4.0-3AV40
- STP3.0-3AV40
Skip, do not connect an SMA inverter
A
Check whether your SMA inverter is connected to your Internet network. This is the case when the blue LED by the network symbol is on continuously (to the right for Sunny Boy).
B
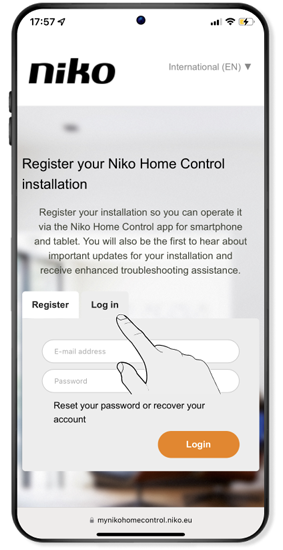
Go to https://mynikohomecontrol.niko.eu
C
Select the Log in tab and enter the e-mail address and password you used to register the smart hub.
D
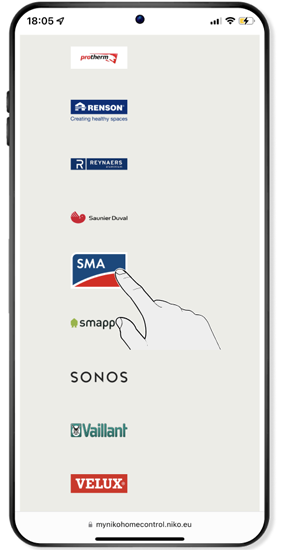
Click on Connected services and select the ALL tab.


E
Select SMA from the list of services.
F
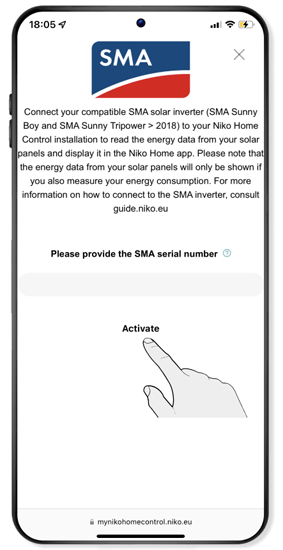
Enter the serial number of your SMA inverter and click on Activate. You can find the serial number on the side of the SMA inverter.
G
Enter the installer password and click on Activate.


Note: You will usually get the installer password when installing your SMA inverter. If you do not know the installer password, you can request a Niko activation code on the SMA website.
-
If you do not know the installer password, go to https://sma-benelux.com/niko-code-en and complete the form. You will need the serial number of your inverter and the MAC address of the wireless smart hub for this. Then click on submit.
Please note: It may take up to one working day for you to receive an activation code. If you have an activation code, you can enter this instead of the installer password at https://mynikohomecontrol.niko.eu

H
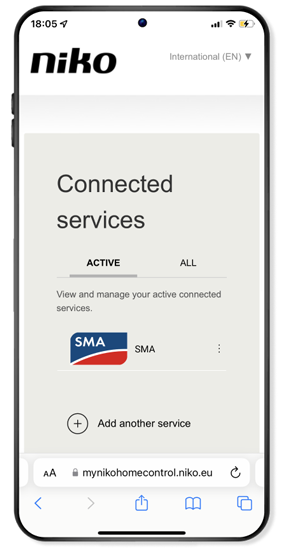
Once activation has been successful, you will see the SMA logo in the ACTIVE tab.
Please note: It may take up to 30 minutes for the SMA details to appear in the Niko Home app.
Programming a solar mode
Once you have connected the SMA inverter for your solar panels to your Niko Home Control installation, you can program a 'solar mode' routine. This ensures that certain devices (which consume a lot of energy, for example) will automatically switch on when you are producing sufficient solar energy.
A
Navigate using the menu (≡) to Settings and click on Routines.


B
Select solar mode from the list of routines.


C
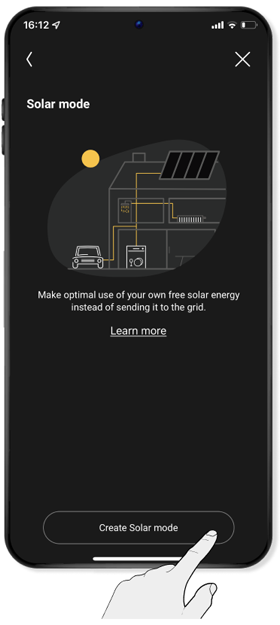
Click on create solar mode.
D
Choose a room in which you want to create this routine and give the routine a name. Then click on Next.


Note: You can only create one solar mode routine.
E
Select the smart plugs with the devices to be switched on when your solar panels are producing sufficient energy. If necessary, adjust how long each device is to remain active. The standard setting is 1 hour. Click on Next afterwards.


Tip: You can set the maximum charging time for your devices (such as a laptop or electric bike) so as to extend the life span of the batteries. You can also set the final time at which each device may be activated.
Example: Set a final time for your washing machine, so that its noise does not keep you from sleeping.
F
If necessary, adjust the order in which the devices are to be switched on by dragging them. When your solar panels are generating little energy, Niko Home Control will give priority to the devices at the top of the list. Click on Next.


G
The solar mode has now been created. View and change any advanced options if necessary or click on Ready.


Tip: Determine in Advanced options the threshold value for the surplus of solar energy and for how long this threshold value must persist before the first device is to be switched on. The standard settings are 300 W for 10 minutes.
Your settings will be sent to the wireless smart hub. This may take a few minutes. During this step, your Niko Home Control installation may react more slowly than you are used to.
Finished!
Test your Niko Home Control installation and enjoy the convenience that you have added to your home.