Step 1
Identify switching
For each light point, identify the type of dimmer or switch. In that way, you will know in the next step how to replace the traditional dimmer or switch with a connected dimmer.
Note: Here is a list of the most common Niko dimmers and switches (in the range since 2006) that you can replace with a connected dimmer. These examples can also help you when replacing older dimmers or products from other brands. In that case, the surface-mounting can be different and the connection terminals may be in another place.
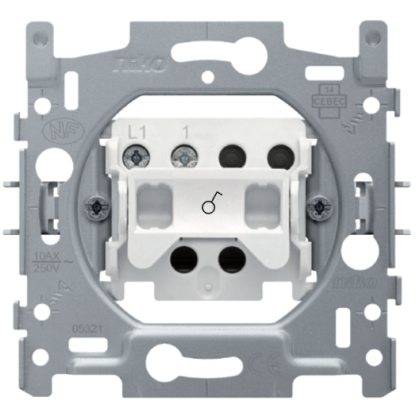
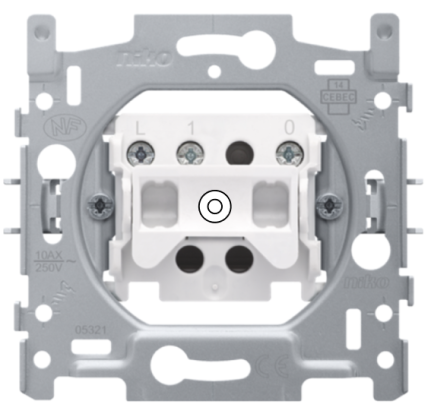
Traditional switch(es) without dim function
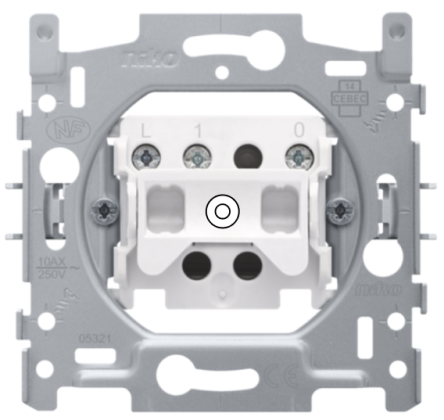
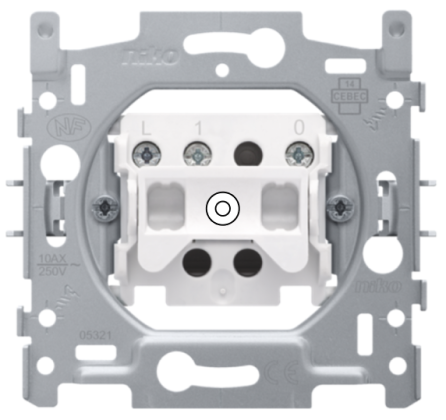
Single-pole switch
Two connection terminals
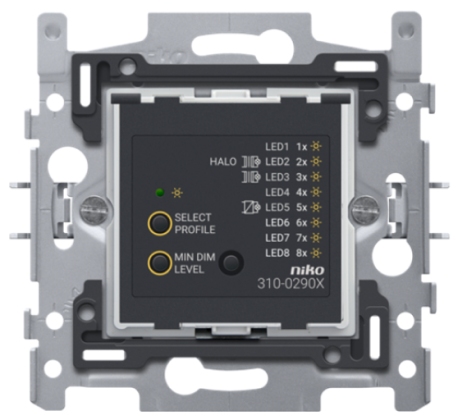
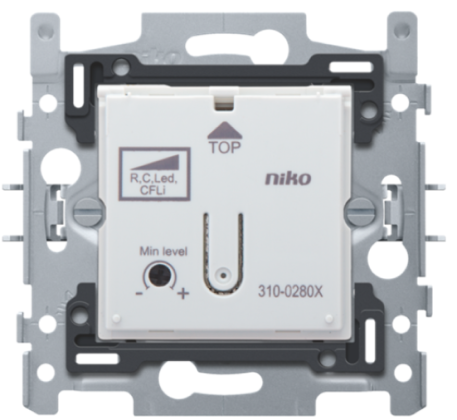
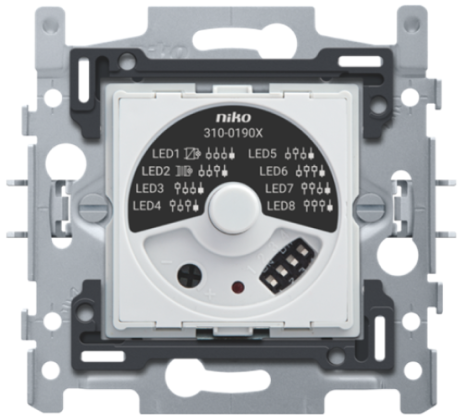
One control point with push-button dimmer
2-wire, 3 - 300 W, PLC interference suppression
-
A dimmer with integrated PLC interference suppression removes as many interfering signals as possible from the grid, in order to allow lamps to operate without flickering or buzzing.
3-wire, 2 - 100 W
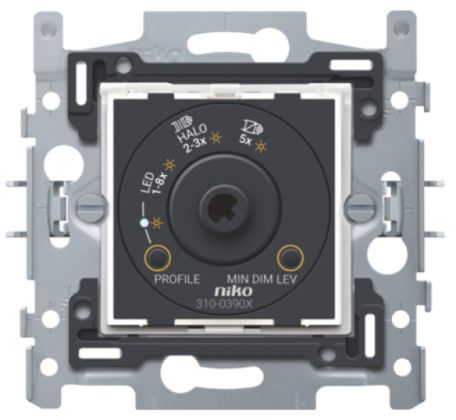
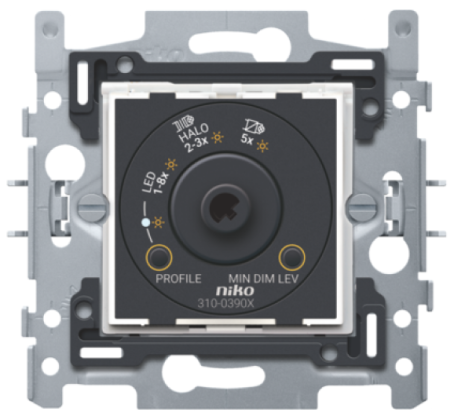
One control point with rotary dimmer
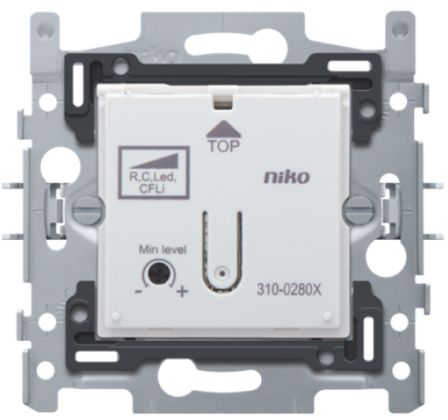
2-wire, 3 - 300 W, PLC interference suppression
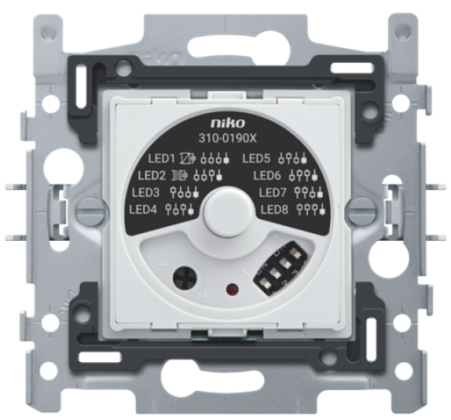
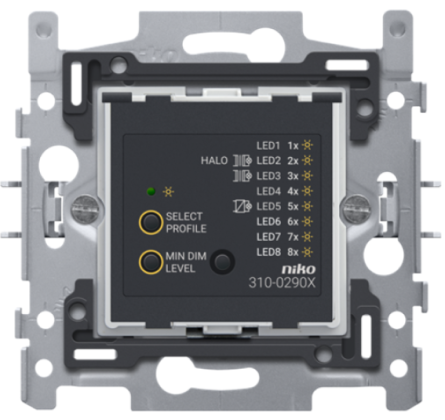
3-wire, 5 - 325 W, PLC interference suppression
Several control points with at least one rotary button
+
One or more traditional push buttons.
+
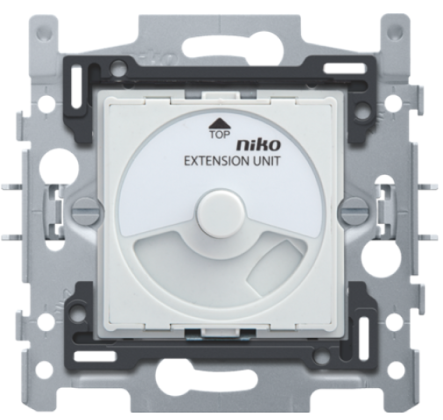
One or more rotary button extensions, 3-wire, PLC interference suppression
Multiple control points with push buttons
+
One or more traditional push buttons.
+
One or more traditional push buttons.
